
Our Business Hosting supports Laravel Frameworks. But, if you are stuck with how to migrate your application without the use of SSH. It’s pretty straight forward. In this article we will show you how you can migrate your laravel application.
The main objective here is to migrate your app without having to run migration command. Just follow the setups carefully and it is extremly simple to do it!
Prepare your source
Migration from Local PC to Server
Goto to your project folder and compress the entire project folder including .htaccess. Let’s say the name of the zip file is laravel.zp
Migration between two servers
Compress your application folder (usually outside your public_html folder) this might have been called “laravel-app” or any other name. If you are not sure of which which folder to compress – access your index.php within your public_html and search for
$app = require_once __DIR__This will give you the path where your application is stored. The path is before “bootstrap”.
Now along with your application zip your public_html folder.
Export your DB
Once your source PHP files have been zipped using phpMyAdmin, export yoru MySQL DB. Assuming the name of the file is “laravel.sql”
Target Server
Login to your cPanel and open file manager. Create a folder called “Transfers” within this folder, upload your zip file(s).
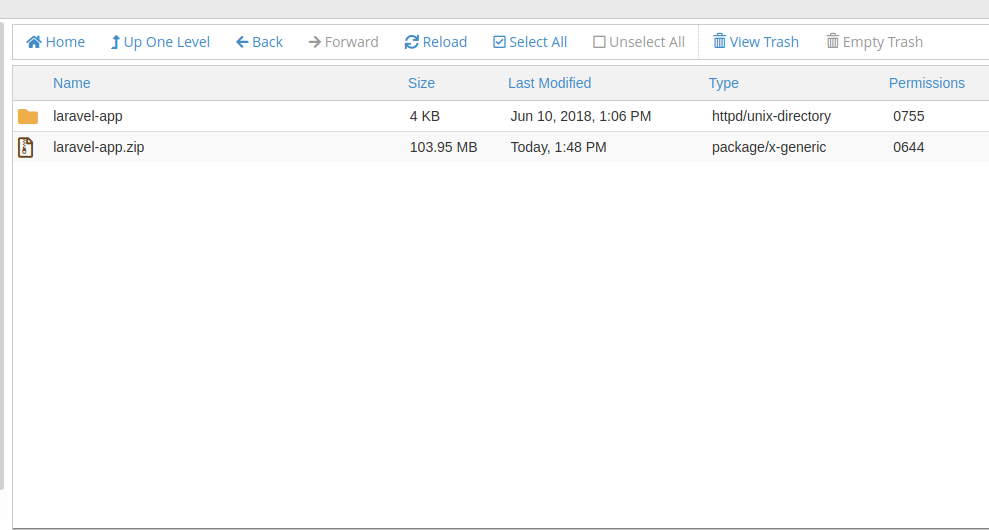
Local PC Files
If you have unzip your files that were packaged by your local PC. You will have a structure as follows:

Open your laravel-app folder.

MOVE the CONTENTS of the public folder (as highlighted in the image above) to your cpanel’s public_html folder. Make sure you move all your hidden files like .htaccess. Now you can delete the empty public folder.
After deleting the empty public folder, move you laravel-app folder to “Home”
Navigate to the public_html folder and locate the index.php file, select the index.php file and click on “Edit” – this will open the code editor of cPanel. Locate and update the following lines:
`require __DIR__.'/../bootstrap/autoload.php'; update to: `require __DIR__.'/../laravel-app/bootstrap/autoload.php';$app = require_once __DIR__.'/../bootstrap/app.php';` update to: $app = require_once __DIR__.'/../laravel-app/bootstrap/app.php';`Note: Update the lines according to your projects folder name
Server Files Restore
If you are restoring from the files that were already on the server, just move the laravel-app folder to “Home” and content of public_html within the public_html directory.
Laravel .htaccess
This is how your .htaccess should look like
<IfModule mod_rewrite.c> <IfModule mod_negotiation.c> Options -MultiViews </IfModule> RewriteEngine On # Redirect Trailing Slashes If Not A Folder... RewriteCond %{REQUEST_FILENAME} !-d RewriteRule ^(.*)/$ /$1 [L,R=301] # Handle Front Controller... RewriteCond %{REQUEST_FILENAME} !-d RewriteCond %{REQUEST_FILENAME} !-f RewriteRule ^ index.php [L] </IfModule>DB & Configuration
Within your cPanel first create a MySQL and username. Grant all the access of the DB to the user.
One great thing about this method that I am showing you is that you don’t have to run a single shell command. It’s extremely easy.
Just open phpMyAdmin and the New DB that you have created.

Click on the import button as shown above. Upload the .sql file that you have exported from your local PC or another server.
On your cpanel file manager, navigate to laravel-app (or your laravel project directory). Go to config/database.php – open this file in Edit view. Locate MySQL configuration Section – usually on line 55

Change the username and password to your MySQL username and password of your DB that you created earlier via cPanel. Ensure that these details are entered correctly.
If all goes well, you should have your site working fine now.


